
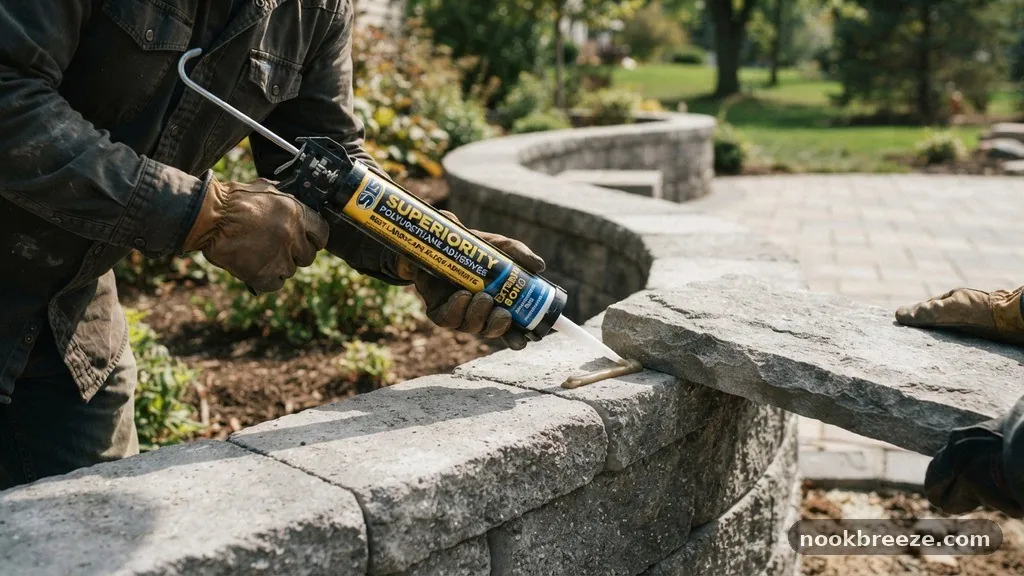
Gluing Cap Stones: Best Polyurethane Landscape Block Adhesive for Tops
Gluing cap stones effectively ensures your hardscaping <strong>projects remain secure and visually appealing for years. Selecting the right polyurethane landscape block adhesive for tops is the most critical step in preventing loose stones or shifting caps that can ruin the appearance of your retaining walls or seating areas.
Whether you are finishing a garden wall or securing a heavy stone bench, the structural integrity of your build relies on the bond between your materials. This article provides the technical details you need to select the most reliable products for your specific landscaping environment.
The Superiority of Polyurethane Adhesives
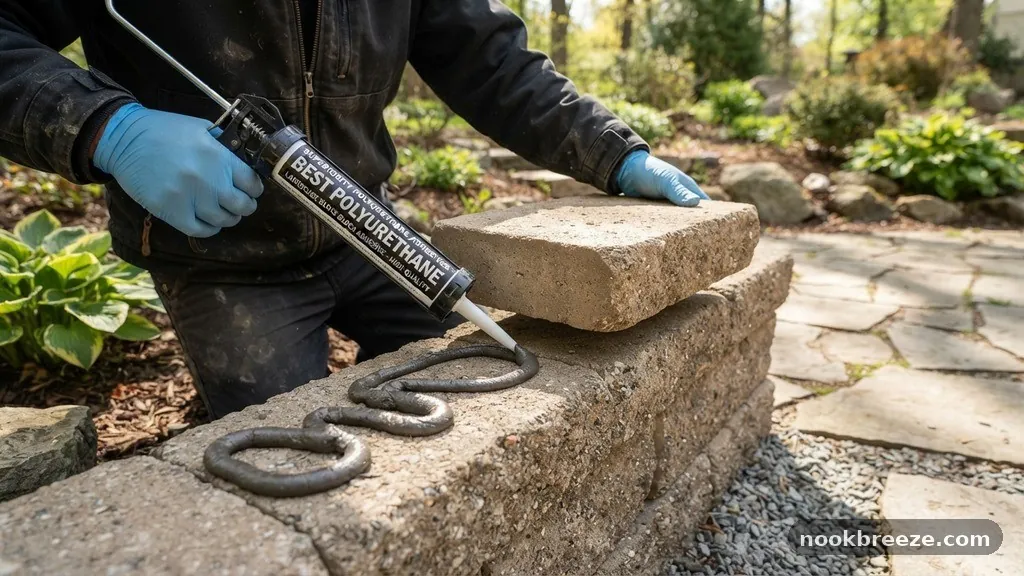
Polyurethane-based adhesives have become the industry standard for outdoor masonry projects due to their unique chemical properties. Unlike traditional mortar, which can crack under the freeze-thaw cycles common in many climates, polyurethane remains slightly flexible. This elasticity allows the bond to move ever so slightly with the ground, preventing the brittle failures often seen in rigid cement-based products.
When you are gluing cap stones, you need a material that bridges small gaps and uneven surfaces found on natural stone. Polyurethane adhesives are formulated to be high-viscosity, meaning they stay where you put them without running or sagging. This is vital when working on vertical faces or slightly irregular stone tops where a runny product would make a mess.
Furthermore, these adhesives offer exceptional resistance to environmental stressors like moisture, UV rays, and extreme temperature fluctuations. Once fully cured, they create a chemical bond that is often stronger than the stone itself. This is why professionals prioritize them for permanent, heavy-duty applications where safety and longevity are the primary concerns.
Key Performance Factors for Cap Stone Adhesives
To determine the best product for your needs, you must look at specific performance metrics like cure time, shear strength, and bond longevity. High-quality landscape adhesives are specifically engineered to stick to porous materials like concrete, brick, and natural stone. They are designed to penetrate the microscopic pores of these surfaces, creating a mechanical interlock that holds tight.
Temperature range is another critical factor to consider before you begin your project. Some adhesives require the stone to be bone-dry and warm, while others are more forgiving and can be applied in damp or cold conditions. If you are working during early spring or late autumn, check the technical data sheet to ensure the product will set properly in your local weather conditions.
Strength is measured in terms of how much weight the bond can support before failing. For heavy cap stones, you want an adhesive that boasts high tensile strength. Many professional-grade tubes will specify that they are intended for heavy-duty exterior use, which is exactly the classification you should look for when selecting your materials.
Comparing Popular Adhesive Categories
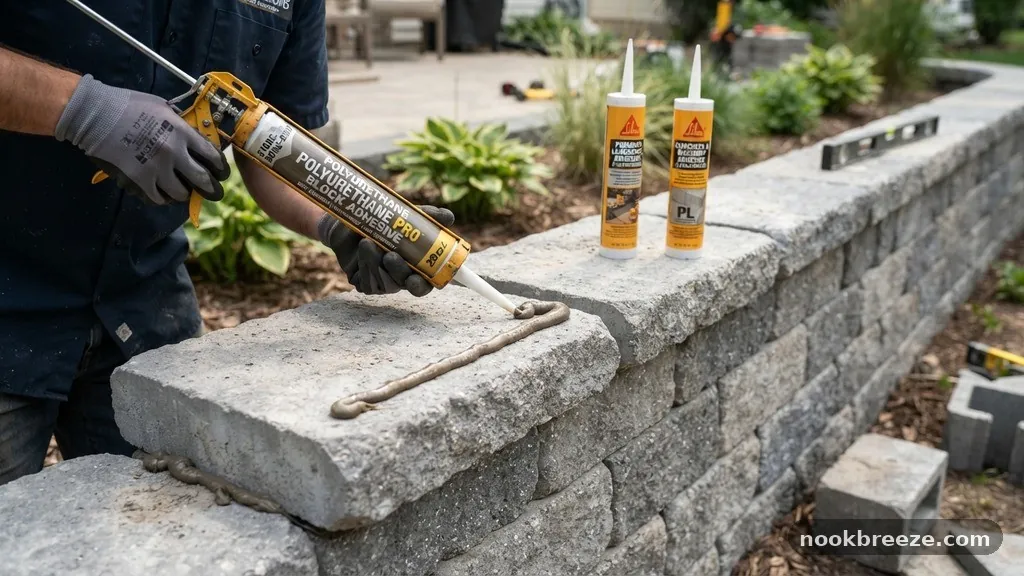
Choosing between different types of construction adhesives can feel overwhelming given the variety of products on store shelves. The following table summarizes the typical performance characteristics of the most common adhesive types used in hardscaping projects.
| Adhesive Type | Bond Strength | Flexibility | Best Use Case |
|---|---|---|---|
| Polyurethane | Very High | High | Outdoor masonry and cap stones |
| Acrylic Latex | Moderate | Low | Interior trim and light repairs |
| Epoxy | Extreme | None | Metal to stone or structural repairs |
| Construction Mastic | Low to Moderate | Moderate | Lightweight paneling and interior work |
As shown in the table, polyurethane is the clear winner for exterior stone projects. While epoxy is technically stronger, it lacks the necessary flexibility to handle the expansion and contraction cycles of outdoor landscape blocks. Using the wrong product often leads to the adhesive snapping away from the stone after a single winter season.
Preparing the Stone Surface for Success
Even the strongest adhesive will fail if it is applied to a dirty or dusty surface. Before you begin gluing cap stones, you must ensure both the bottom of the cap stone and the top of the wall are completely clean. Use a stiff wire brush to remove loose debris, moss, or remnants of old mortar from the previous layers.
If the stone is covered in a thick layer of dust, the adhesive will bond to the dust rather than the stone itself. Wipe the surfaces down with a damp cloth and allow them to dry completely unless the product instructions explicitly state that application on damp surfaces is acceptable. This simple step significantly increases the long-term reliability of your bond.
In some cases, a light sanding of the contact area can help improve the surface profile. If your cap stones are extremely smooth or polished, the adhesive may struggle to find a purchase. Roughening the surface slightly with a coarse sandpaper or a diamond grinding disc provides the necessary texture for the adhesive to lock into.
The Importance of Proper Bead Application
The way you apply the adhesive is just as important as the product you choose. Using a high-quality caulking gun allows you to maintain consistent pressure and control the flow of the material. Avoid globbing the adhesive in the center of the stone, as this can create a pivot point that causes the stone to rock over time.
Instead, apply a continuous bead around the perimeter of the stone, about one inch in from the edge. This placement seals the joint, preventing water from getting underneath the cap stone and freezing. If water enters the gap, it will expand and eventually pop the cap stone off, no matter how strong the adhesive is.
You should also add a few zig-zag lines or dots in the center for additional support if the stones are particularly large or heavy. The goal is to distribute the weight of the stone evenly across the surface of the underlying wall. This prevents stress concentrations that could lead to cracking or uneven settling.
Handling Curing Times and Environmental Variables
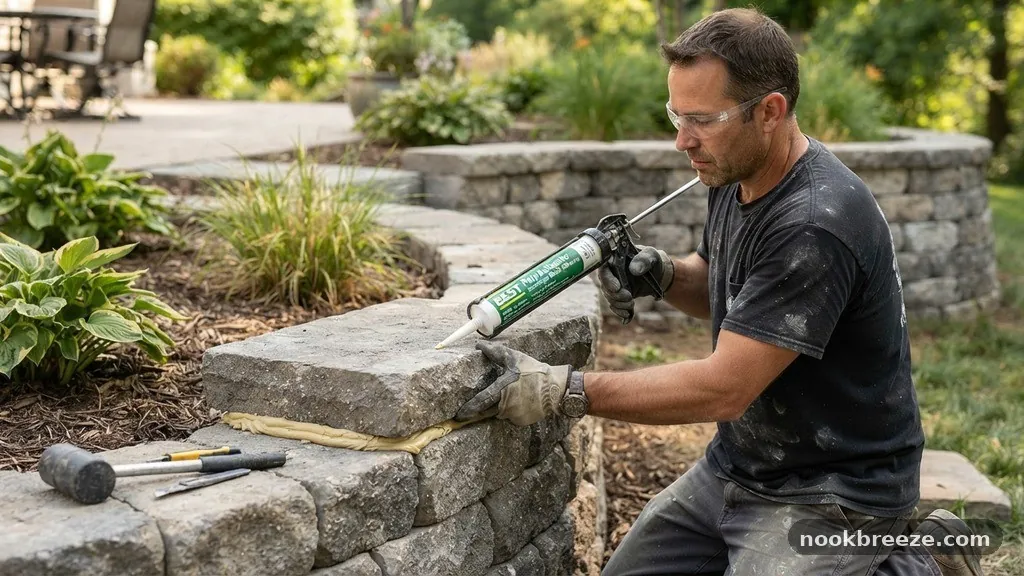
Patience is a virtue when working with polyurethane adhesives. While many products claim to have a “quick grab,” the actual chemical cure can take anywhere from 24 to 72 hours depending on humidity and temperature. Do not put weight on the stones or subject them to traffic until the manufacturer’s recommended cure time has passed.
Humidity actually helps the curing process for most polyurethane products, as they react with moisture in the air to harden. If the weather is extremely dry, you might find that the bond takes longer to reach its full strength. Keep an eye on the local forecast and try to schedule your project during a dry spell that isn’t excessively hot or cold.
If you are concerned about movement while the adhesive sets, you can use temporary bracing or weights. A few heavy bricks or blocks placed on top of the cap stone will ensure it stays perfectly level and in contact with the adhesive bead while it firms up. This prevents the stone from shifting due to gravity or accidental bumps during the critical first few hours.
Tools and Safety Considerations
Working with high-strength construction adhesives requires proper safety gear and the right equipment to get the job done efficiently. Always wear nitrile gloves, as these adhesives are notoriously difficult to remove from skin once they begin to set. If you get some on your hands, use a citrus-based hand cleaner or mineral spirits immediately.
A heavy-duty, high-thrust caulking gun is an essential investment for these projects. Cheap, lightweight guns often struggle to push the thick polyurethane through the nozzle, leading to uneven beads and hand fatigue. Look for a gun with a high mechanical advantage ratio, which makes the process much easier on your grip.
* Nitrile gloves to protect skin from sticky residue.
* High-thrust caulking gun for smooth, consistent application.
* Wire brush for cleaning masonry surfaces thoroughly.
* Mineral spirits for cleaning up uncured adhesive spills.
* Safety glasses to protect against accidental splashes.
Keeping your workspace tidy is also a matter of safety. Have a rag soaked in mineral spirits nearby to wipe away any excess adhesive that squeezes out from under the cap stone. Once the adhesive cures, it is nearly impossible to remove without damaging the stone or using harsh chemical strippers that may stain the surface.
Avoiding Common Installation Mistakes
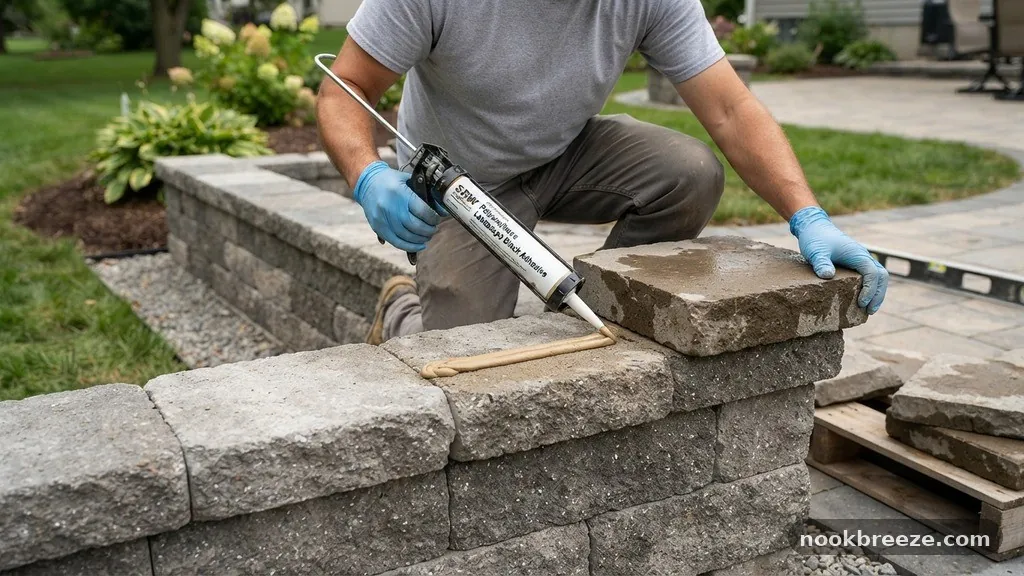
One of the most common errors is using too little adhesive. It is better to use a slightly thicker bead than to run out halfway through a section. If you don’t have enough material to create a full seal, water will penetrate the joint and freeze, which is the leading cause of failed cap stone installations.
Another mistake is failing to account for the thickness of the adhesive bead. If your wall is slightly uneven, you may need a thicker layer of adhesive to bridge the gap. Do not try to force the stone down until it touches the wall if there is a significant void, as this can create internal tension in the stone.
Finally, avoid applying the adhesive in direct, intense sunlight if possible. Extreme heat can cause the adhesive to cure too quickly, which may trap air bubbles or prevent it from fully wetting the surface. If you must work in the sun, keep your tubes of adhesive in a cooler until you are ready to use them to keep the viscosity manageable.
Troubleshooting Bond Failures
If you find that a cap stone has come loose, the first step is to investigate the cause of the failure. Check the underside of the stone to see if the adhesive stayed with the stone or if it peeled away from the wall. If it peeled away, you likely had a dirty or damp surface that prevented a proper bond.
If the adhesive itself snapped, it may be due to an incompatible material or an extreme physical shock to the wall. In these cases, you will need to scrape off all the old adhesive completely before attempting a repair. Trying to apply new adhesive over the old, failed material will almost certainly lead to another failure.
For persistent issues, consider using a mechanical fastener in addition to the adhesive. While polyurethane is usually sufficient, some heavy-duty projects benefit from a combination of adhesive and stainless steel anchors. This provides a “belt and braces” approach that ensures the stones stay put regardless of environmental conditions.
Professional Best Practices for Long-Term Maintenance
Once your cap stones are securely glued, they require very little maintenance. However, it is a good idea to inspect your wall annually, preferably before the winter season begins. Look for any signs of water intrusion or gaps that may have opened up between the stones.
If you notice a small crack in the joint, you can often repair it with a high-quality, paintable, or stone-colored exterior sealant. This will help maintain the seal without needing to remove the entire cap stone. Keeping the water out is the single most important maintenance task for any masonry structure.
For further reading on masonry standards, you can refer to the National Park Service technical preservation guidelines, which discuss the importance of proper joint care in masonry structures. While their focus is often on historic preservation, the principles of keeping moisture out of joints apply directly to modern landscape construction.
Frequently Asked Questions
Can I use regular construction adhesive for cap stones?
While some general construction adhesives work, they are often not designed for the specific rigors of outdoor masonry. Polyurethane-based landscape adhesives are formulated to handle the expansion and contraction of stone better than standard indoor options. Using a product specifically rated for “landscape block” or “stone” is always the safer choice for long-term durability.
How do I remove excess adhesive from the face of the stone?
If you get adhesive on the face of the stone, let it sit for a few minutes until it begins to skin over. You can then use a plastic scraper or a putty knife to carefully lift the excess off the surface. If it has already cured, you may need to use a specialized solvent or a wire brush, but be careful as these can scratch or discolor certain types of natural stone.
Is it necessary to use a primer on the stone before gluing?
Most polyurethane landscape adhesives are designed to bond directly to clean, dry stone without the need for a primer. However, if the stone is extremely porous, such as soft limestone or sandstone, some manufacturers recommend a light mist of water or a specific masonry primer to improve adhesion. Always check the instructions on the specific tube you purchased.
How much adhesive should I use per stone?
A continuous bead around the perimeter is generally the best practice to ensure a watertight seal. If your cap stones are very large, you should also add a zig-zag pattern in the center to support the weight. You want enough adhesive so that when you press the stone down, a small amount squeezes out, indicating full contact with the surface.
What is the best temperature for applying these adhesives?
Most manufacturers recommend applying these products when the ambient temperature is between 40°F and 100°F. Applying them in extreme cold makes the adhesive very thick and difficult to work with, while extreme heat can cause it to cure too fast. If you are working in cold weather, keep your adhesive tubes in a warm place like your truck cab before use.
Final Thoughts on Securing Your Project
Gluing cap stones is a straightforward task when you use the right materials and follow proper application techniques. By choosing a high-quality polyurethane adhesive, you ensure that your hardscaping remains stable and protected against the elements. Focus on cleaning your surfaces, applying a consistent bead, and allowing sufficient time for the bond to cure fully.
With these steps in mind, you can confidently finish your walls and enjoy the professional results of your hard work. If you have questions about a specific brand or project type, consult the manufacturer’s technical data sheets for the most accurate information. Taking the time to do it right now will save you from maintenance headaches later, keeping your outdoor space looking its best for years.